Course overview
In this video course, I will teach you exactly how to use Applitools with a Selenium WebDriver to do automated visual validation testing. The techniques I’ll teach in this course are the same exact automation techniques that I’ve used with Applitools to do 9000 visual validations every two weeks.

My name is Nikolay Advolodkin, I am the CEO of UltimateQA.com. I’ve taught over 50,000 students in over 100 countries.
In this tutorial, I’ll take a complete beginner step by step through setting up a Visual Studio with Applitools, explaining how to do automated visual checks, showing stuff like match levels and floating regions and I’ll teach you about test manager and automating all of that.

So, stay tuned!
Course prerequisites
Let’s talk about who this course is for and whether you should take this course or not.
This course is really for technical individuals that are doing test automation using Selenium WebDriver and C#.

This course will be perfect for you if you’re using those two technologies and you get to see all of the code that I provide for free and you’ll get to learn everything from that code and you’ll be able to follow along through every step in this tutorial.
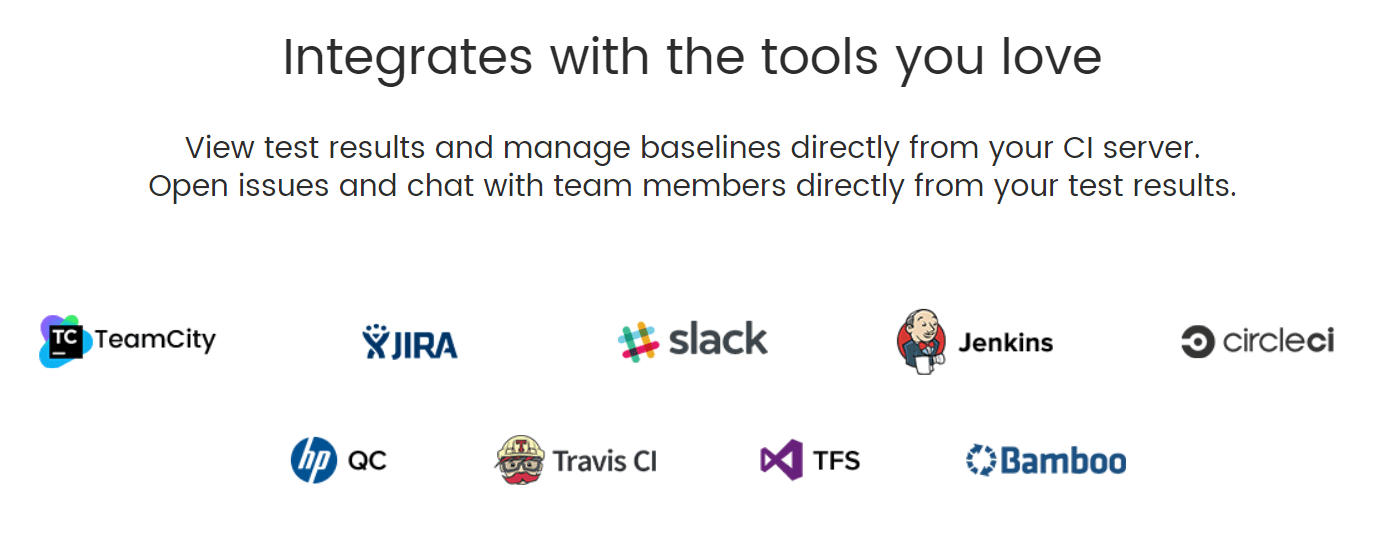
Now, however, this course is also very interesting because Applitools has so many integrations. It can integrate with Java, Ruby, UFT and many other platforms.
The majority of the concepts that I cover, concepts like baselines, what is visual validation, why should we do visual validations. All those concepts actually apply to really any automation tool and any programming language. But, if you want to follow along everything step by step, you’ll need to have these two technologies.
Otherwise, all the main concepts, you will still be able to apply to any tool and any technology. However, you do need to be technical because we will be writing code.
Then that brings me to the other point is that anyone interested in Visual Validation. Visual validation which I’m going to refer to as VV. They will want to take this course as well. Visual Validation is a different type of test automation and a different type of testing. It’s very important for the majority of companies, so anyone interested in it will want to take this course and learn from this course.
Now, this course is not for those individuals that are not technical. It’s not for non-technical individuals, so maybe if you’re a manual tester that is looking to do Visual Validation, you’re not gonna be able to follow this course.

Simply because it’s too technical, it involves Selenium-Webdriver, involves C#, it involves programming, involves IEs and you’re just not going to be able to follow. This course may be a bit too hard, if you meet these criteria, go ahead and jump into the course because we’re going to have lots of fun.
That takes me to my next point, what are the prerequisites for you, so that you can actually follow along with the course? Well, first you’re going to need a PC, running Windows, I personally have Windows 10 and that’s what I’m gonna teach in. You’ll require basic C# knowledge.
We don’t do anything too complicated here, utilizing Selenium-Webdriver, we have a couple classes and couple object-oriented programming principles. However, besides that, we don’t do anything too complicated, no interfaces, no generics, none of that kind of stuff.
If you have the basic C# knowledge, you’ll be able to follow along because the majority of it just involves writing very few lines of code.
Again as I mentioned before, this course is very interesting because, even though it’s taught in C#, all of the concepts because the Applitools API can apply to so many different tools, all of those concepts, can apply to all those different tools.
Even though you see it in C#, you can use Java, Python, LeanFT, whatever other programming language or tool you want to use. Since we’re going to be working with Selenium WebDriver, you need an understanding of it, so you can follow along because I’m not gonna be teaching anything WebDriver related in this course.
Finally, you’re going to need to know some kind of test execution framework. In my case, I’m going to be using NUnit which is my preferable test execution framework. However, if you’re on the .NETstack, you can obviously use a MSTest or XUnit or some other testing framework that you may want to use.
Of course, if you’re following along in a totally separate language, pick the appropriate test execution framework so that you can run all of the tests as I teach this tutorial.
Course syllabus
Let’s talk about the course syllabus, I want to dive in and describe to you exactly what will be taught in this course.
First, I’m going to teach you how to get started with the tools and fundamentals. You’ll learn how to set up visual studio, how to install Applitools Selenium WebDriver and, then, you’ll learn all about automated Visual Validation and why it’s so important.
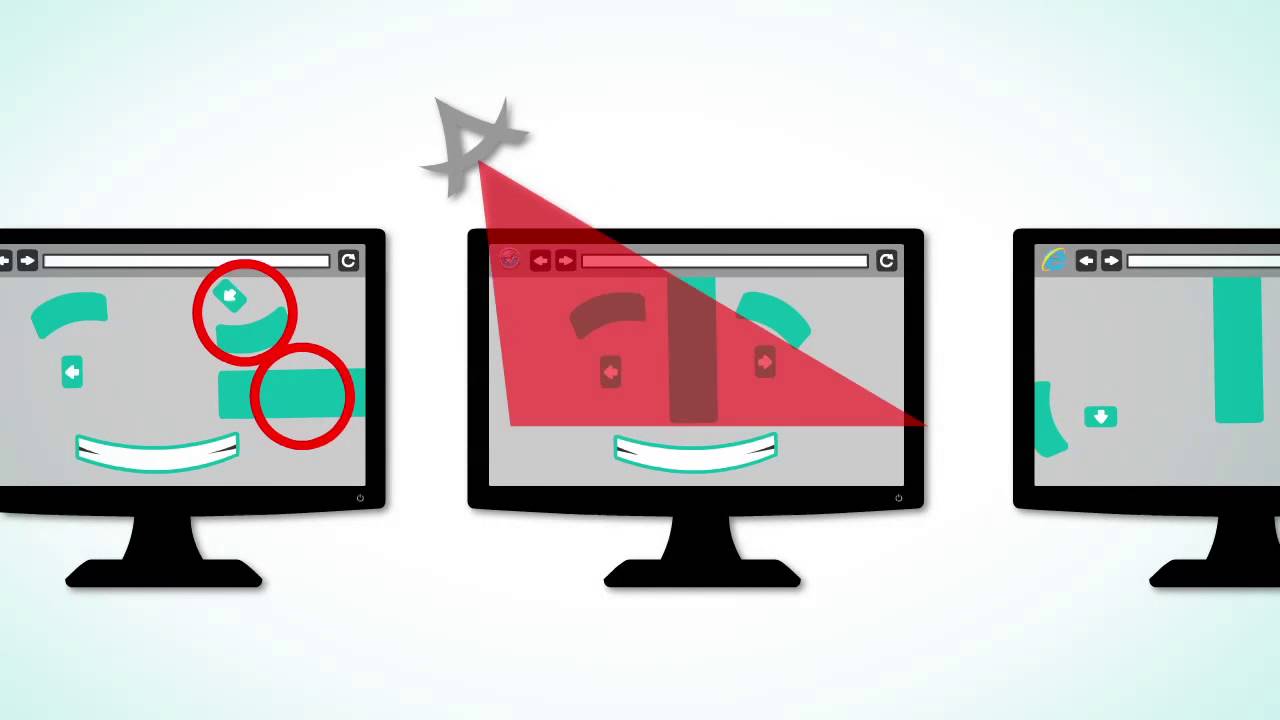
Also, you’ll learn about stuff like why Applitools is the best automated Visual Validation tool in the market.
Next, you’ll learn about baselines and dashboard. You’re going to learn what is a baseline and why it’s so important to automated Visual Validation.
Then, you’ll learn how to work with different baselines and apply different kinds of regions.
That will take us into the next section of matched levels and regions where you’re going to learn different match levels. You’re going to learn how to apply different regions, you’re going to learn how to do it in a manual manner and how to write code in order to make all of that happen.
Finally, we’re going to take you into the Test Manager section. The Test Manager section of the course is going to teach you how to work with the Applitools test manager user interface. You’re going to learn how to create batches and store all of your tests inside of batches. You’re going to learn how to create test steps, how to name your batches, how to name your steps and to do all of that manually and with code as well.
Then we’re gonna wrap things up with some conclusions, you’re gonna be an Applitools expert.
How to download and install Visual Studio
Let me show you how to download Visual Studio Community Edition.
Just go to this URL up here and then you’ll see on the left-hand side, you have Visual Studio community edition which is free.
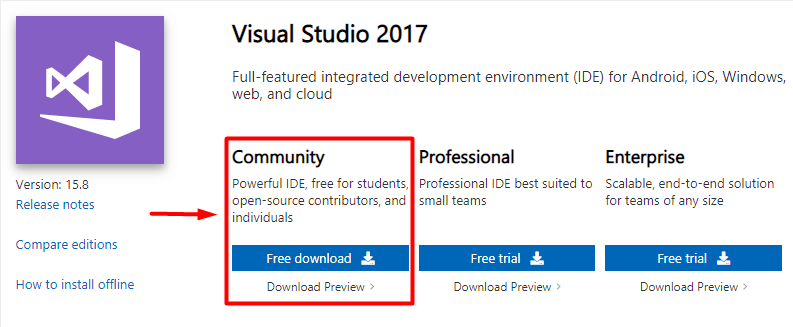
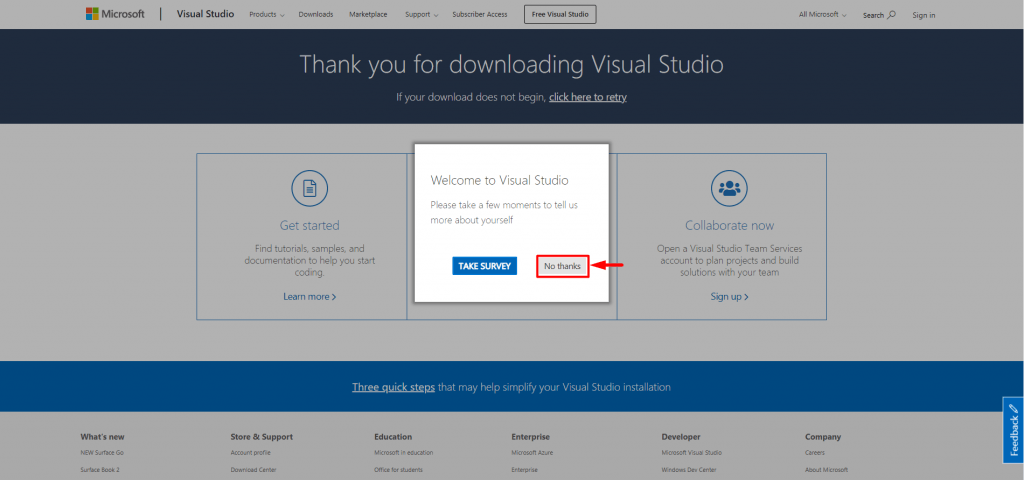
Just click free download and, of course, the download is going to start. I’m going to say “no thanks” to take in a survey.
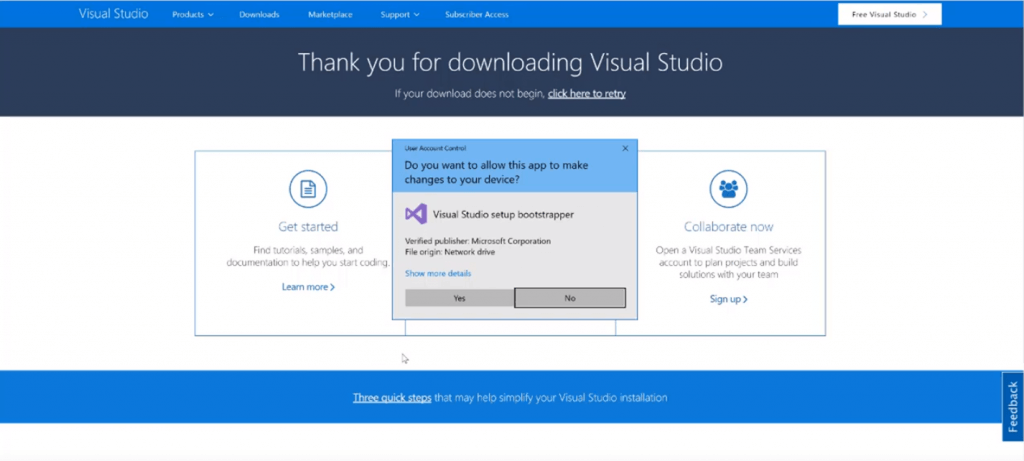
You can see that the executable has finished here. It’s actually pretty quick because it uses an Internet installation. You can also install it offline, you saw I ran the executable now I’m going to allow this app to make changes to my device.
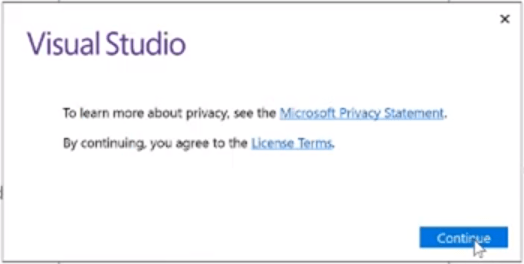
Give it a second to install. Excellent! I’m going to say “continue” here.
Here we are!

This is a new installation process for Visual Studio, starting with Visual Studio 2017. They’re calling these workloads that basically allow you to select which components you want to be installed and which ones you don’t.
It’s actually really nice because it makes the installation of your visual studio much smaller. If you’re not planning on doing Python development or Node.js development, then you don’t install what you don’t need.
Anyways, I’m going to select .NET desktop development, that’s what we want, so we can run our test automation using Selenium WebDriver. We don’t need bland, we also don’t need the Entity Framework 6 tools so I’m going to remove that. We probably don’t even need .NET profiling tools.
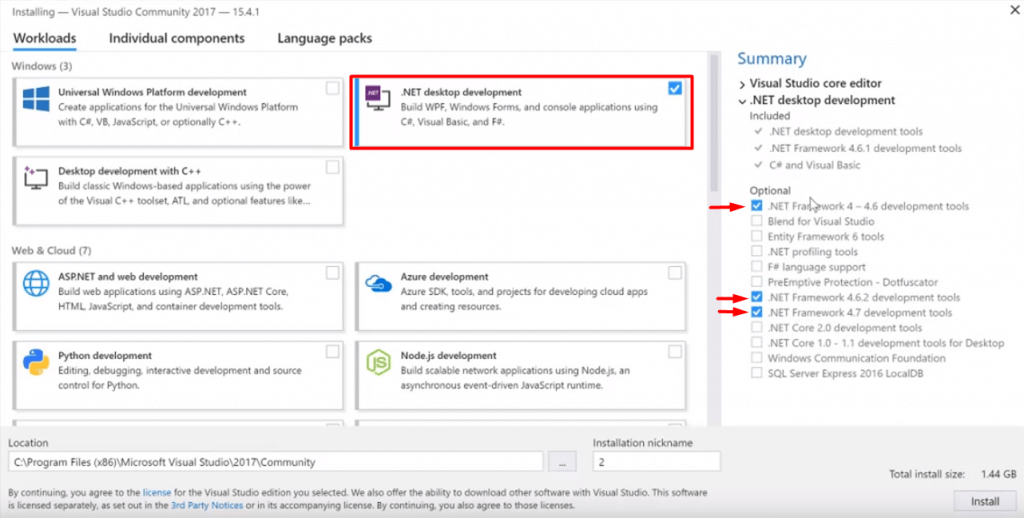
What we can include is .NET framework 4.7 and 4.6.2 so later frameworks than what’s included in this bundle. If you’re looking at this and it’s a later Visual Studio, go ahead and grab the latest .NET frameworks.
It’s always best to be up on the latest technologies, you should always stay up-to-date.
Now I’m going to click “install”, you can see that the process has begun. It’s installing it right here and I’ll be back when it’s finished with the installation.
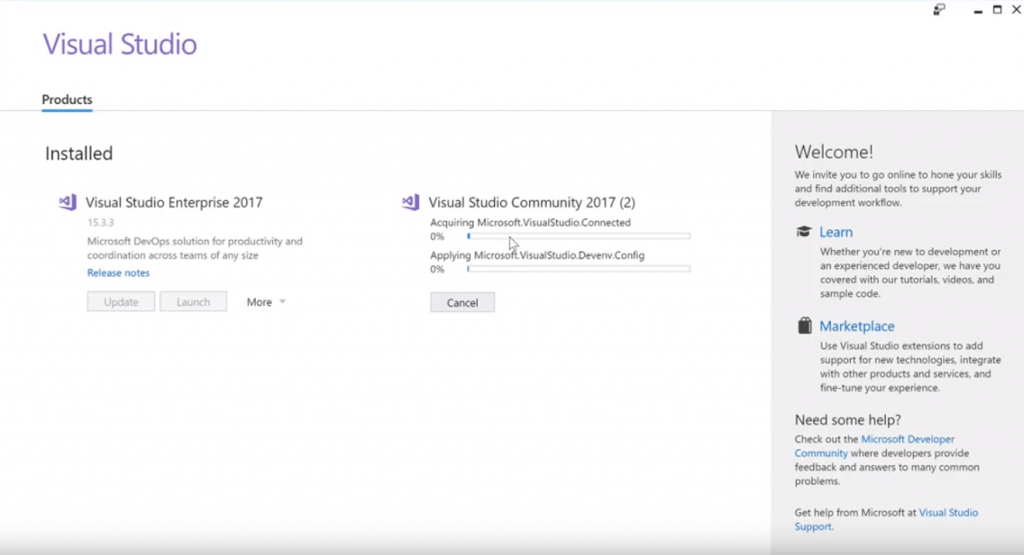
All right, so the installation has finished, took a couple minutes. Here is my Visual Studio Community Edition. Right now mine looks a little bit different than yours will probably look because I also have Visual Studio Enterprise installed which is what I use on my day to day basis. Because I have an MSDN license, this is the paid version. This is the free version that you will have, yours will probably be over here on the left-hand side if you don’t have Visual Studio paid Edition installed. Anyway, I just wanted to quickly mention that.
Now, you should be ready to launch it. All you have to do is come over here and say “Launch”.
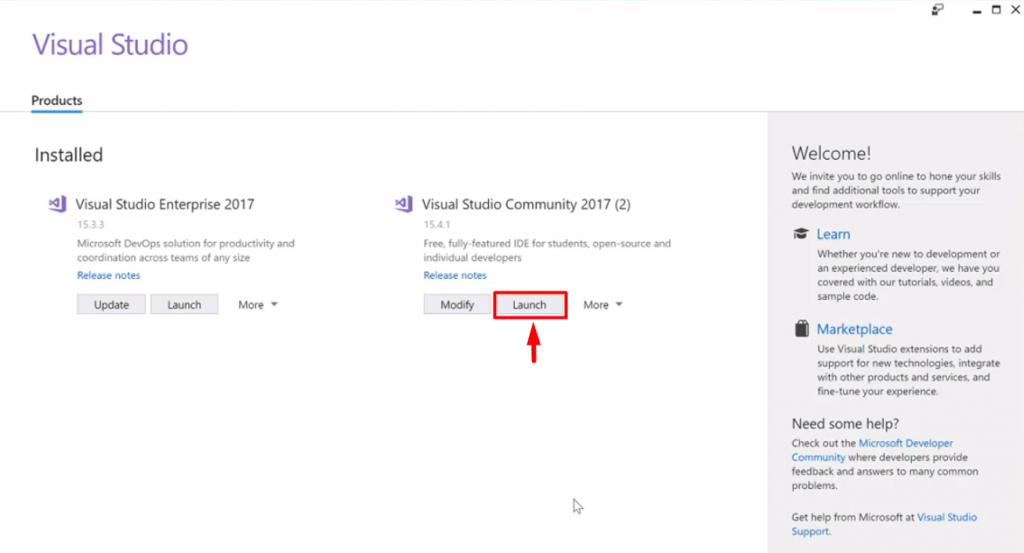
The Visual Studio will start up, it’s a really nice experience.
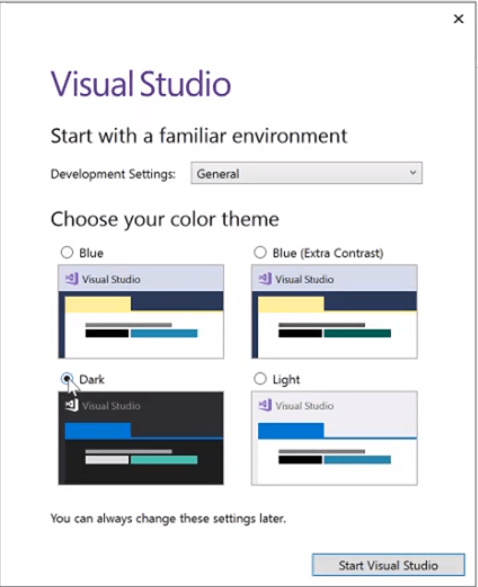
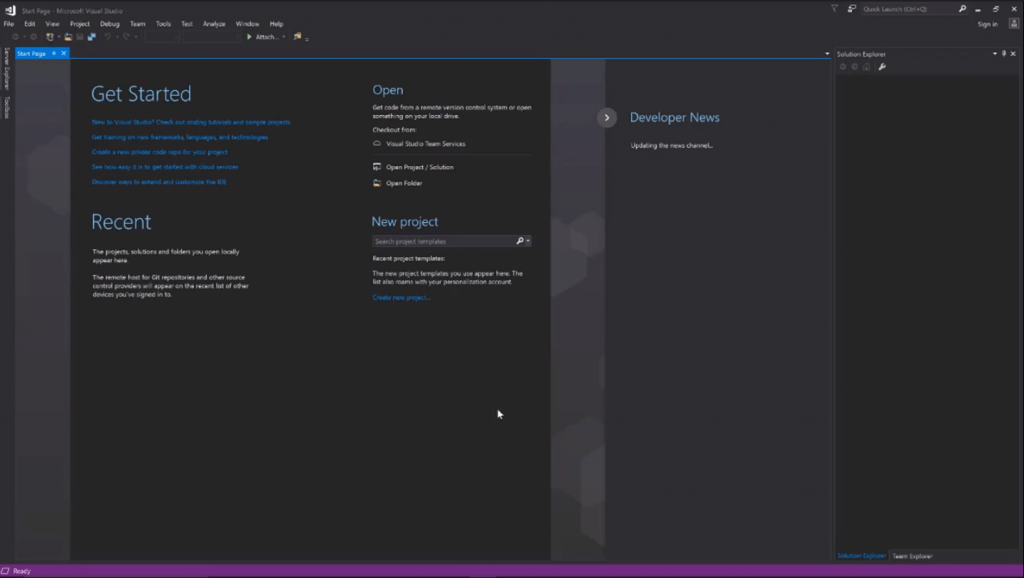
You can see how you get to choose your theme, I’m always a fan of the dark theme, it looks cooler and easier on the eyes. Give it a second to install the dark theme or set up the dark theme. Now it’s going to open up, here it is fresh Visual Studio Community Edition in dark theme, fully installed.
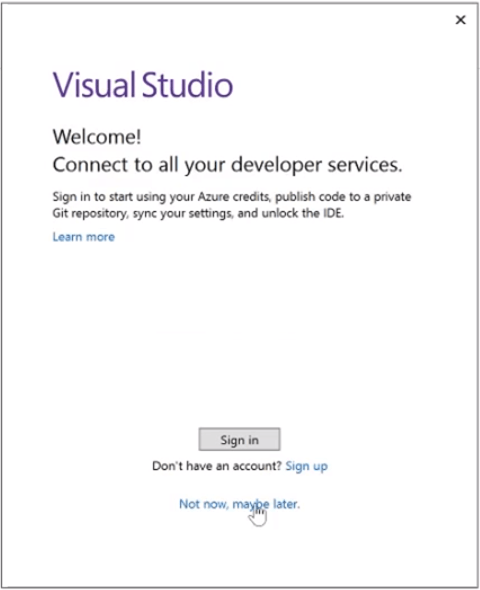
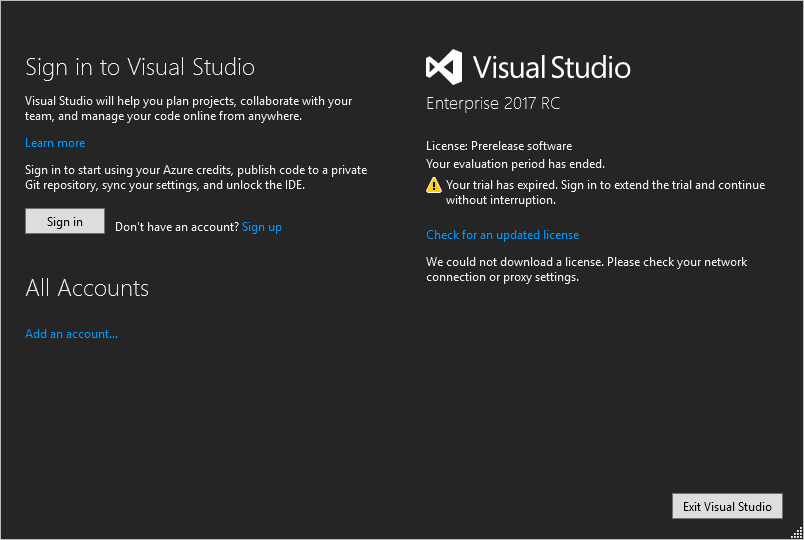
After 30 days of having Visual Studio Community Edition, your trial is actually going to expire. Don’t worry, you don’t have to pay anything, it is free.
All Microsoft wants you to do is create an account which is basically providing an email and a password. Then you are basically set. I would recommend that you use your main email address, so in the future, if you do decide to move forward with purchasing a subscription for MSDN which is the Microsoft subscription package for Visual Studio, you can go ahead and just reuse your same account. You can do that by either signing in if you already have an account or signing up if you don’t.
Signing up is really easy, as I said, just provide an email address and a password, creating a normal account and then once you’re done signing up, what you’re gonna do is to come to this page which actually tells you how you can now sign into your Visual Studio.
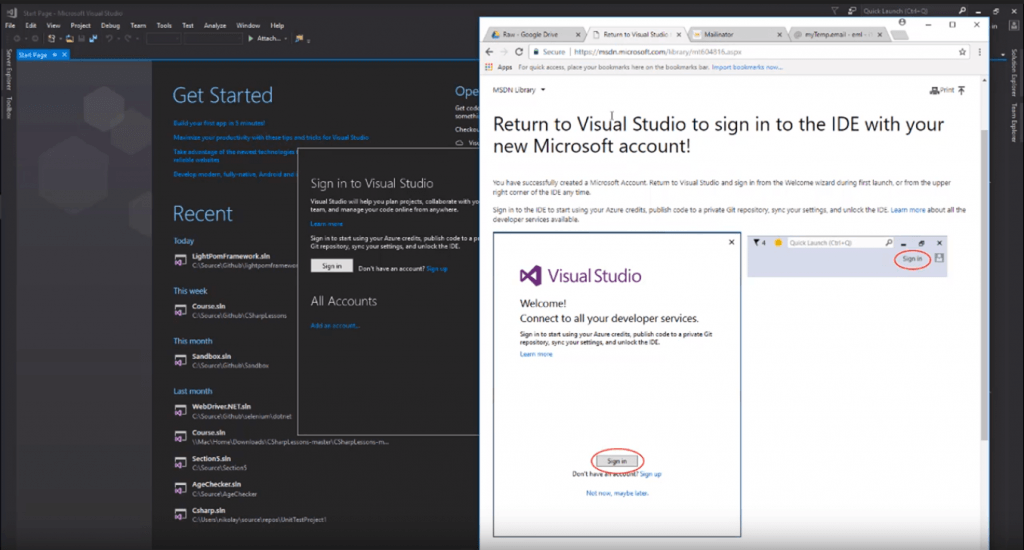
You’ll return to your IDE with your new Microsoft account and then you’ll fill in all the details. You can do that, you know, by clicking “sign in” if you created a new account. For me, I already have one, so I’m going to go ahead and create. I’m going to go ahead and create and enter that information.
Here we go I’m signed in, as you can see my name appears here at the top, and now you are able to proceed with using Visual Studio Community Edition for the rest of your life if you would like.
Create Applitools account and install Nuget packages
Let’s go ahead and get you set up with a free trial of Applitools account.
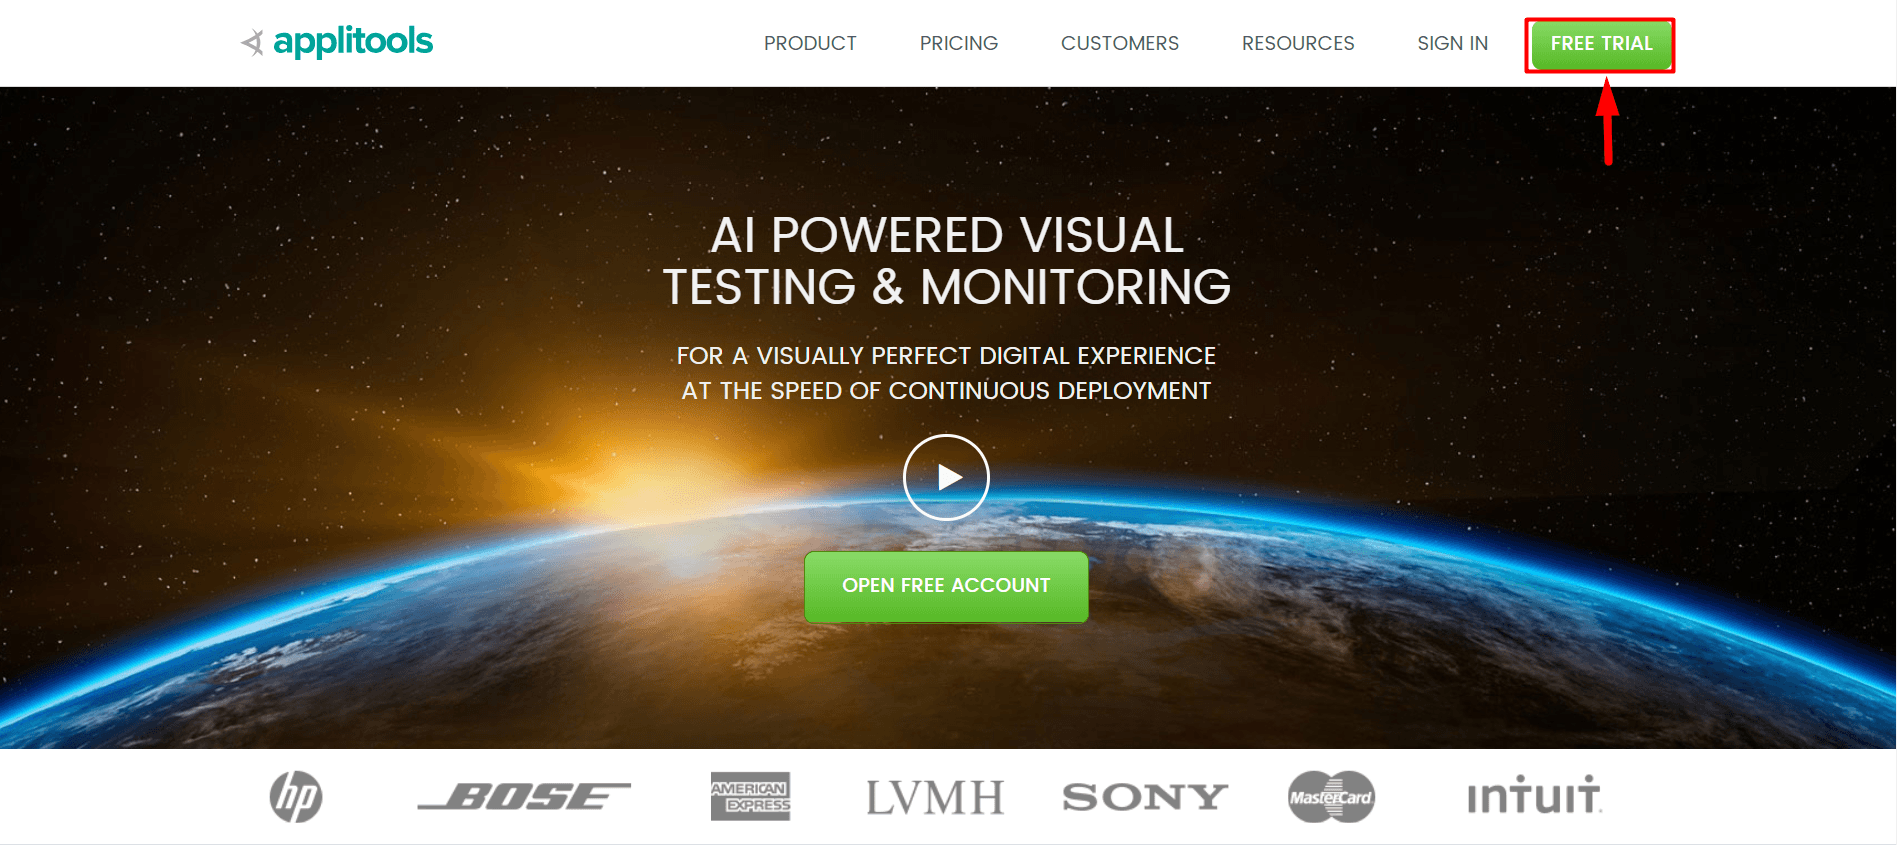
All you have to do is go to Applitools.com, click the free trial button. You can fill out all of these details, you can see no obligation and no credit card required. This is a totally free trial, you get to enjoy a couple of Visual Validations a week without any issues.
Once you register, you’ll be able to go ahead and log in by going here clicking “sign in” filling out your details and then you will be logged into the application.
Once you’re logged in, you’ll see a view that looks exactly like this.
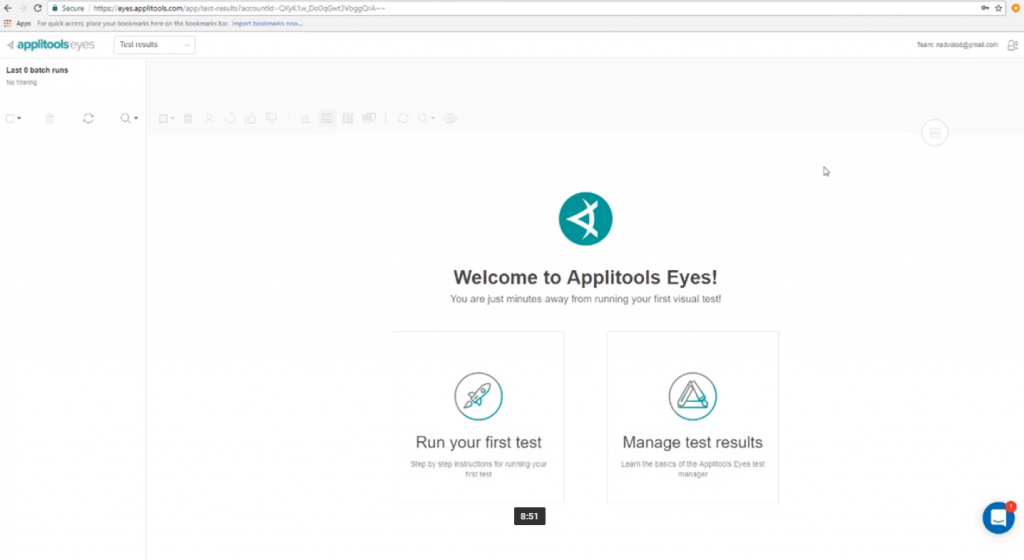
Now, I’m going to teach you how to get set up. However, if you get lost or would like to look at this, you can see that Applitools actually offers some options for you on how to get started. You can actually click here and it will help you and take you to the resources page.
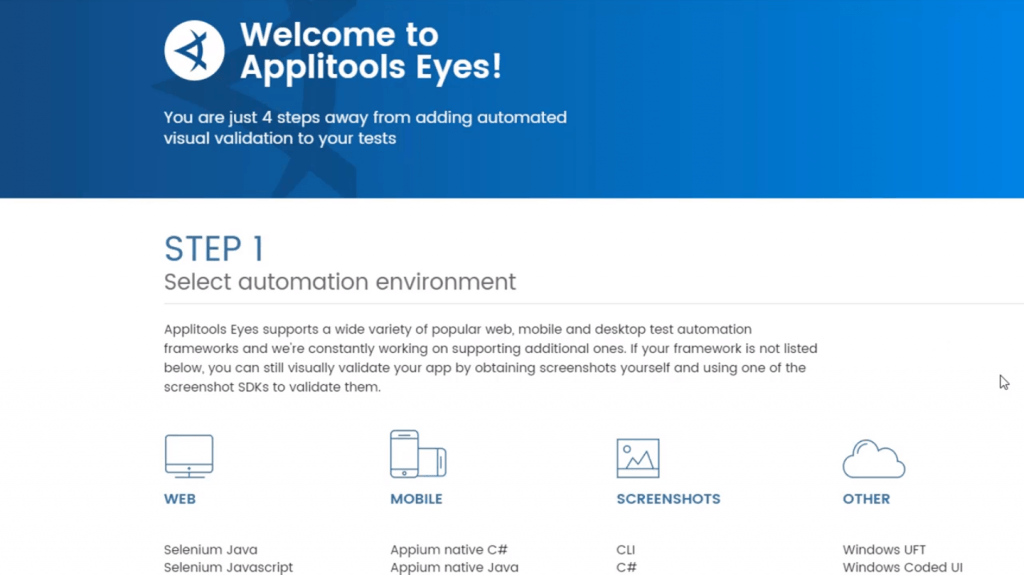
It will teach you how to get started based on the environment that you have. It’s really easy, you just copy and paste the code and follow their instructions. However, I’m obviously gonna do the same thing here for you through video tutorials.
The other very important thing that you need to know here, for now, is how to grab your API key. Come here and click on this little person icon and then when you click my API key a window will come up that will allow you to copy and paste your API key.
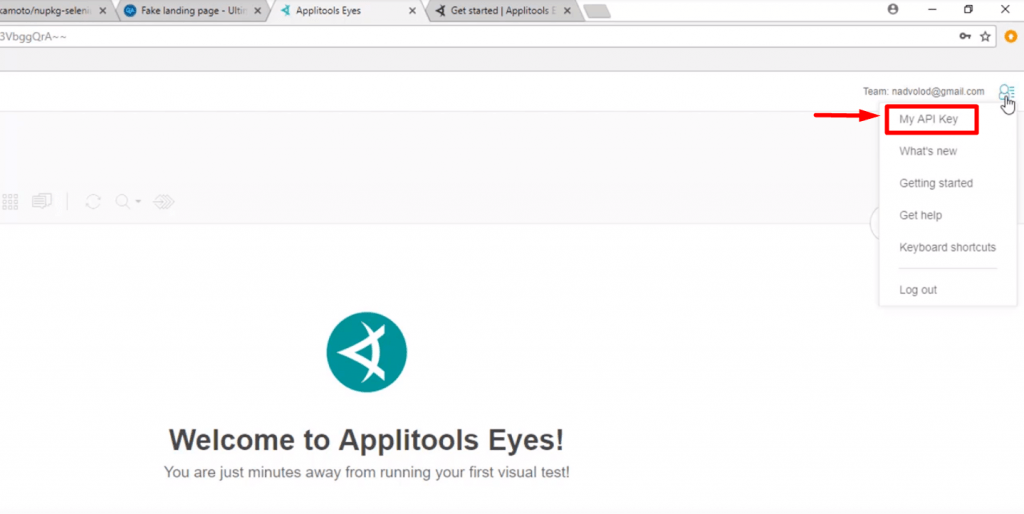
That’s important for the code, we’re going to paste it into our code and use it. I’m not showing you to that here because I don’t want you using my API key because I’m kind of stingy with my Applitools validations. I don’t want to share them. Once you grab the API key, we can then jump into the code and apply that API key there.
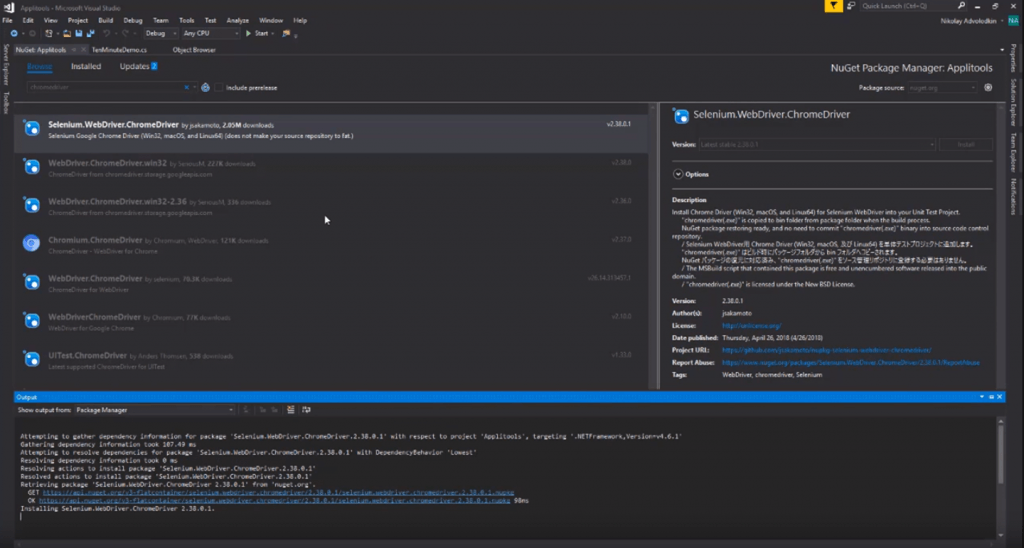
Let’s go ahead and install all the software to get you started coding Applitools tests. You’ve got to go into the Solution Explorer, I created a unit test project here. I’m going to go ahead and right click, go to “Manage Nuget Packages” and then I’m going to install all of the appropriate Nuget Packages.
First, I want Selenium Webdriver. So, to make it really easy, I’m just going to install Selenium support and that’s also going to install Selenium-Webdriver.

Excellent! Now, we need ChromeDriver. This will allow us to execute our test against the Chrome browser.
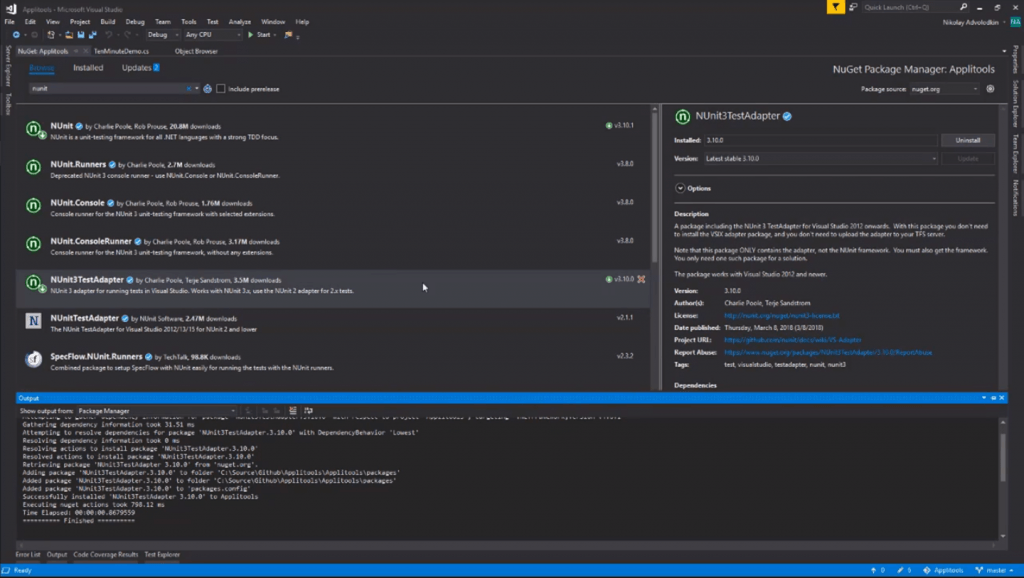
We need NUnit, you need NUnit and NUnit Test Adapter. NUnit allows us to code NUnit tests and NUnit 3 Test Adapter allows us to visualize the NUnits tests inside a Visual Studio and have them show up in the test Explorer.
Finally, we need Applitools, the most important Nuget Package. If you install Eyes.Selenium, it will also install Eyes.Sdk automatically.
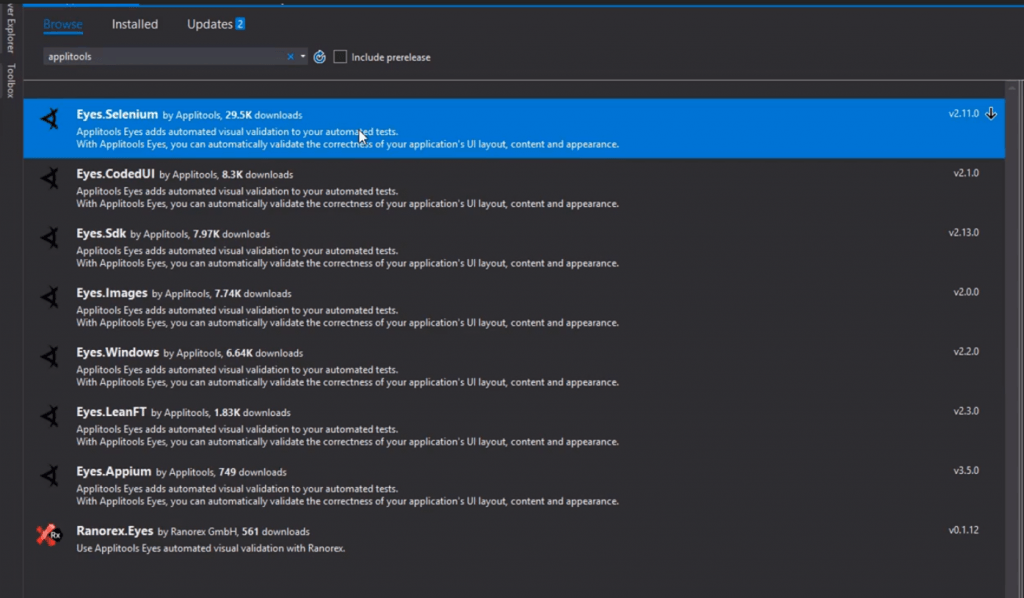
Amazing! If you go into the installed, we can see all of the packages that are installed. We got Eyes.Sdk, Eyes.Selenium. We got NUnit, we got Selenium and we got ChromeDriver.
Fantastic! Now, let’s go ahead and set up ChromeDriver really quickly, so that we can have a reference to the executable. In order to do that, right-click your project, go to properties, go to build and under “conditional compilation symbols”. What you need to do is say “_PUBLISH_CHROMEDRIVER”. This will push it into your bin directory. Save that, fantastic!
Now, a build will publish the ChromeDriver into your bin directory. “Chromedriver.exe”, right there, we are now ready to execute our tests.
Your Takeaway

So that’s how to get started with Applitools. Do you find this tutorial useful and easy to follow? If so, please share this piece of content with your friends or in social media. Otherwise if you have some issues or problems along the way, please feel free to leave a comment below.